Follow us for amazing ideas on making fun projects
and turn your creative ideas into something fabulous!
A QUICK AND EASY WAY TO HANG PLEATED DRAPES WITHOUT HOOKS


You will need rings, needle, thread and a small scissors. I picked these rings up in a grab bag at the fabric store

Sew the rings securely on to each pleat


A QUICK AND EASY WAY TO HANG PLEATED DRAPES WITHOUT HOOKS

You will need rings, needle, thread and a small scissors. I picked these rings up in a grab bag at the fabric store

Sew the rings securely on to each pleat

Then hang your drapes. That's all there is to it
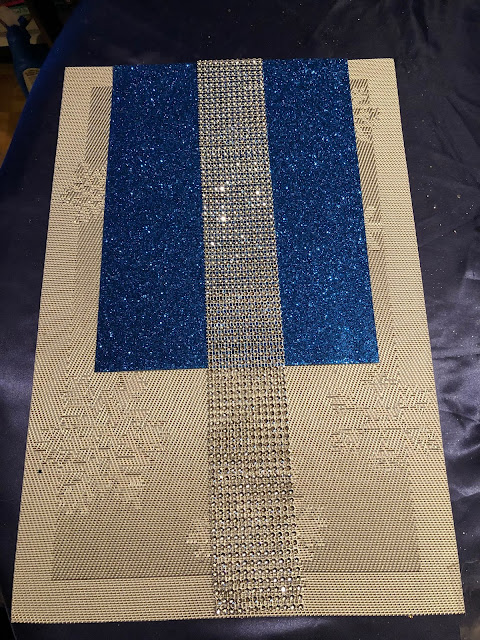
SUPER EASY TO MAKE DECORATIVE CHRISTMAS
TABLE MATS AND NAPKIN HOLDERS

The items can be purchased at any craft store.
I purchased my items at the craft section at the dollar store.
For the table mat you will need table mats, sequin ribbons and packages of sequin squares.

For the napkin holders you can use napkin holders you already have or purchase napkin holders, you will also need decorative sequin ribbons.
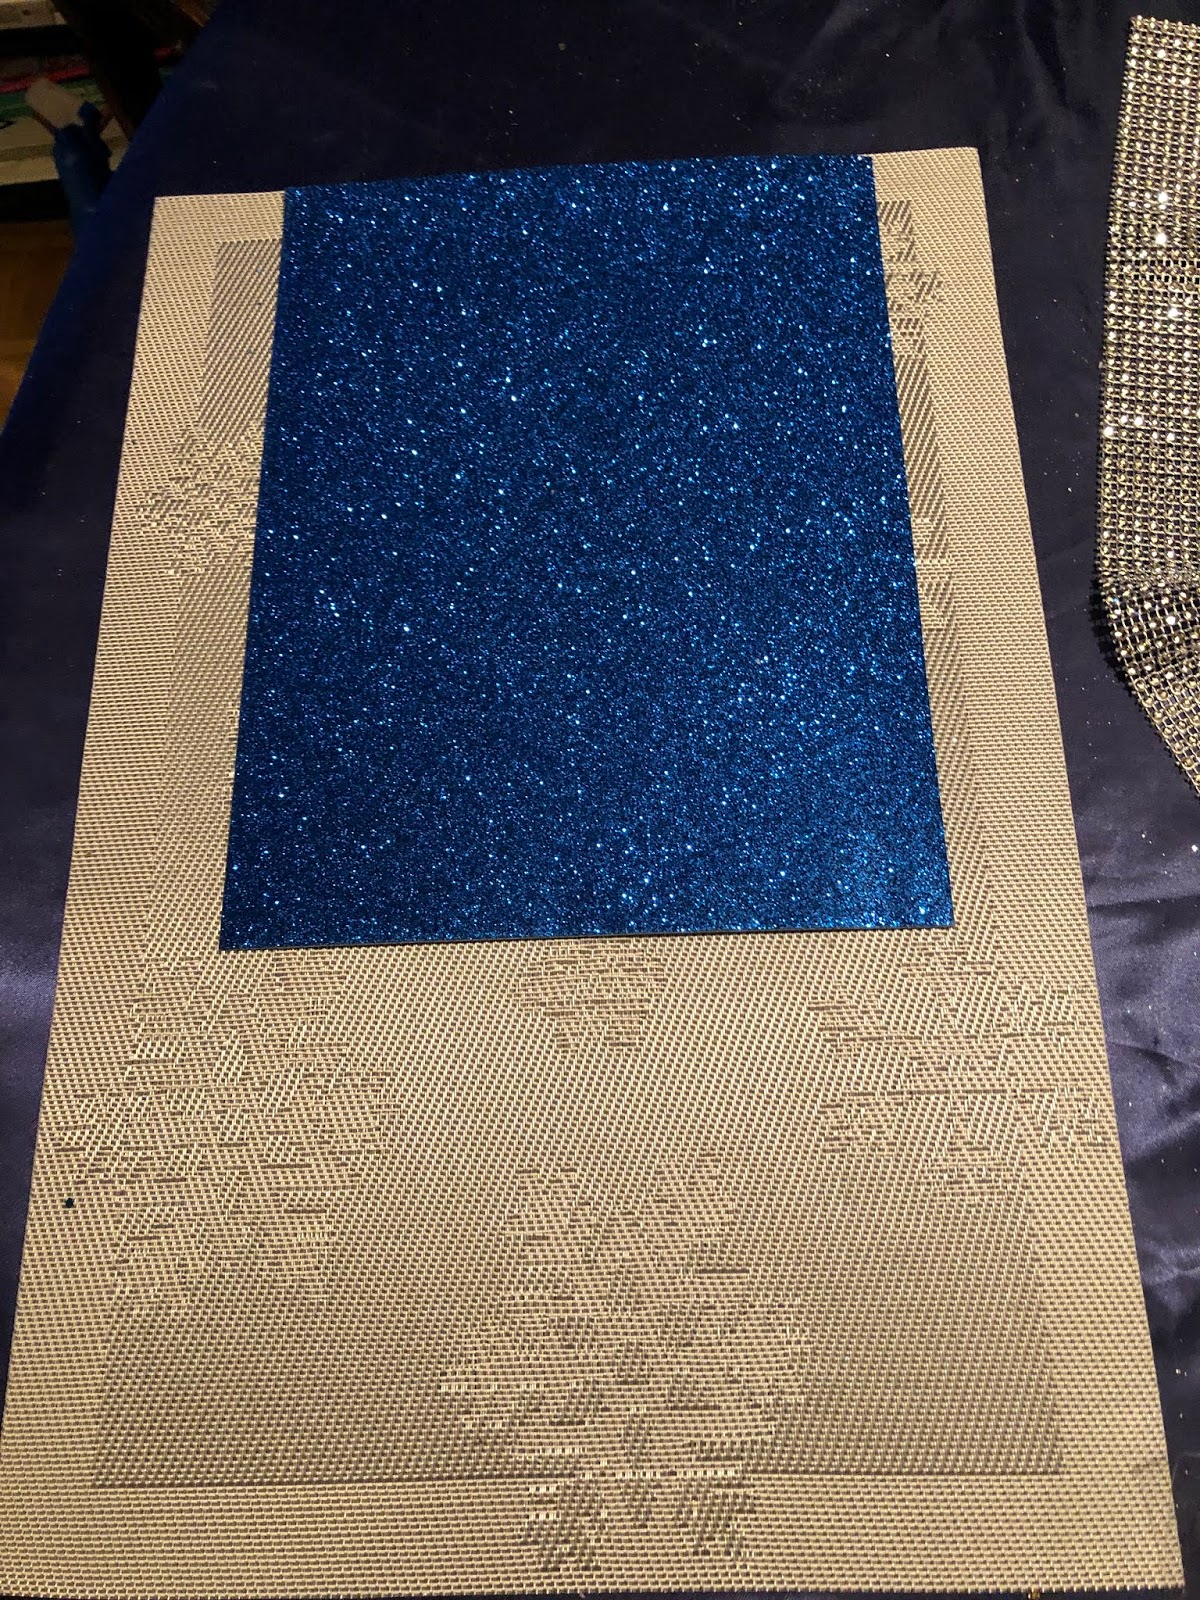
Place the sequin squares at one end of the table mat.

Cut the sequin ribbon the length of the table mat. You can use glue to keep them in place. I just placed them on the mat without glue because I'm just using them for the season and most likely will change the design next Christmas

For the napkin holders - cut the sequin ribbon the circumference of the holders and glue them on.

I used both side transparent tape in case I decide to redesign them for another occasion.

Put your napkins on your charger plate to decorate your
Christmas Table.
The Making of a Bedspread!
Making a bedspread is quite simple, like drapery and curtains it requires a lot of stitching, but the outcome can be very fulfilling.
Making a bedspread is quite simple, like drapery and curtains it requires a lot of stitching, but the outcome can be very fulfilling.
To make a bedspread it's best to purchase 45 or 60" fabric. There are some fabric stores where you can purchase fabric the width of your bed. In that case all you will need is the length and then you add the fringe or trims you need.

When buying 45" or 60" wide fabric, measure how long you want the bedspread, then buy double the length, ie: if the desired length is three yards or meters then purchase six yards/meters.
To make a bedspread follow these steps:
1: Fold the fabric in half - your will have two pieces of fabric three yards each.

2: Put one piece of fabric away, the other three yards fold length wise and cut down the middle ie: if the fabric is 45" wide when it is folded in half lengthwise you will have two pieces of fabric 22 1/2" each. (When using 60" wide fabric, you will have to adjust the two side pieces to where you want it to fall)
3: Take the piece of fabric that you put away and join the 22 1/2" cut pieces on either side. (The reason you join at the sides is that you don't have a center seam on the bed spread)

4: Hem the bedspread and add any decorative trims or fringes you require.

That's all there is to making a beautiful bedspread.
ORGANIZE YOUR NECKLACES
There's nothing worse than trying to untangle your necklaces from your jewelry box. Here is a neat way to organize your necklaces and decorate your space at the same time.


You will need self sticking hooks, craft glue. or both side sticking tape. I prefer to use the both side sticking tape. From my observation the both side sticking tape is more durable if bought from the hardware store instead of the dollar store. Whether you use glue or the sticking tape it best to leave for 24 hours before hanging the necklaces.

Get a picture or mirror your no longer use and stick the hooks on the frame or mirror. Place hooks alternately in each row and about three inches between the hooks so that the necklaces can hang freely. See picture above.

You can convert a plain plastic drawer into a lovely piece of bathroom furniture


I had a set of plastic drawers in my bathroom which I found unattractive and dull, so I decided to make it interesting.
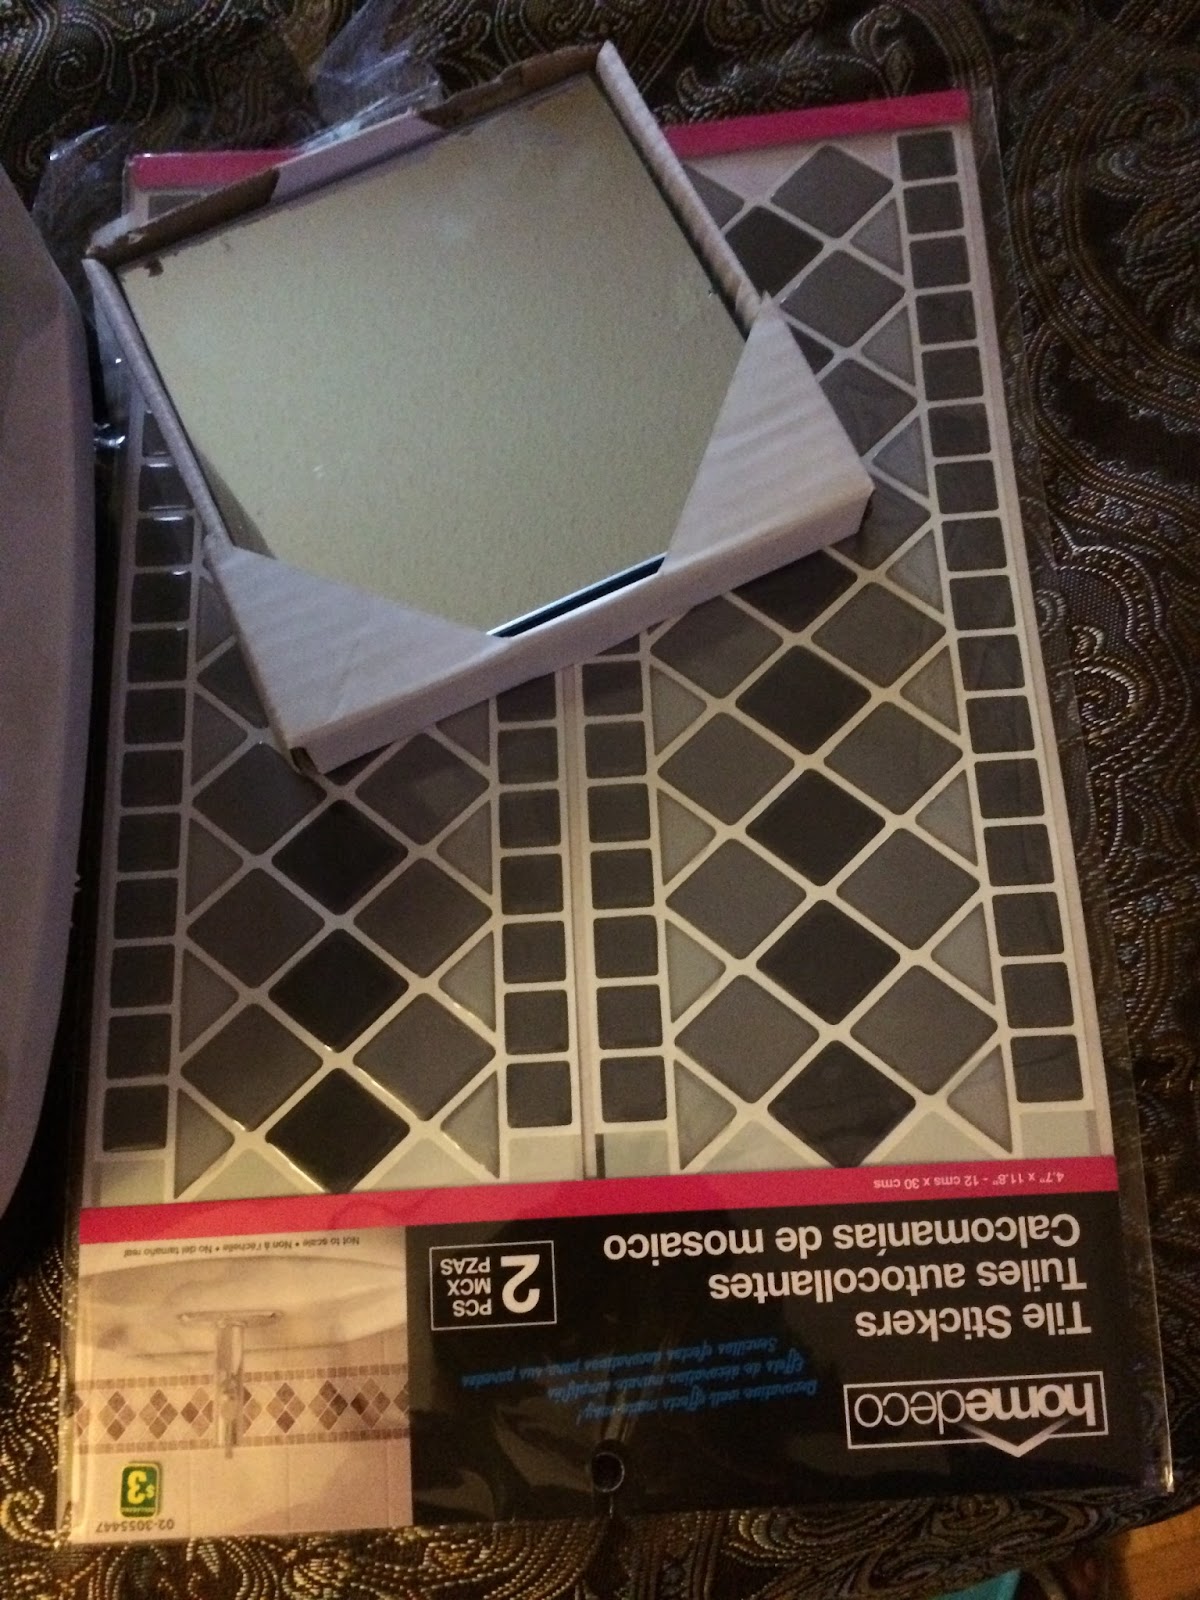
I bought a few boxes of mirrors and two packs of self adhesive plastic tiles from the dollar store and went to work. I pasted the glass on the drawers and side of the unit, then cut the tiles out and formed a pattern around the mirrors.


The results were fantastic. I now have a beautiful piece of bathroom furniture which is functional and beautiful
CREATE A BEAUTIFUL SCARF FROM SCRAPS


Make a beautiful scarf from your scrap box.
Cut fabric in squares and join together.
CROCHET PROJECTS


Crochet projects for you to do. I created my own designs, but you can get many patterns on-line
How to line drapes you already have without sewing
If you want to keep the glare out or keep the heat in, you can line the drapes you already have very easily and economically without sewing. I'll show you how in this tutorial.
 You will need:
Fabric Glue (you can purchase at fabric stores)
Drop cloth (you can purchase from Home Depot). Measure the panels to determine the size and amount you will need. You will also need a pair of scissors.

1) If you don't have a big enough table, lay the panel on the floor, (you can spread a sheet on the floor before starting the project to protect the drapes). Measure the drop cloth against the panel and cut to size.

2) Spread ample amount of glue across the top of the panel below the gromets or pleats squeezing the bottle gently

Repeat steps 1 - 3, on each panel

BABY STUFF

1)
2)
 Now you are ready to attach the side skirt pieces to the white sheet. You will have four separate pieces for the skirt.
Two pieces 51" long and two pieces 28" wide.(after the pleats are made) The length should be 15 1/2".
Attach the pieces to the crib sheet 51" x 28". See diagram. Tack each of the four corners together. and press.

I bought these converse thong canvas sandals without trying them on, it turned out the reach was too short between my toes and they hurt but I was determined to keep them.


I added an applique to embellish and hide the elastic.

3) Place the drop cloth on the panel, pressing gently from end to end to secure. Let dry for about one hour.
Repeat steps 1 - 3, on each panel

There you have it! Lined drapes to keep the heat in or glare out.
For chiffon drapes you can purchase inexpensive polyester or cotton lining from the fabric store.
BABY STUFF
I was blessed with my third grand son, Its so exciting, I am busy making everything I can think of. No he will not be spoilt just "well loved".
The theme of his room is grey and white. He has a hanging decal with sheep jumping over a fence and I decided to make a crib skirt to complete the look.
I thought it would be a good idea to make this project into a tutorial.
The crib skirt has four inverted pleats.
For the crib sheet you will need:
White cotton cut 51"+1"= 52" seam x 28"+1" seam = 29"
This is sheet that will anchor the skirt.
For the skirt you will choose a fabric of your choice, I chose grey to coordinate with the theme of the room.
Cut skirt 63 1/2" + 1" seam = 64 1/2"x 40 1/2" + 1" = 41 1/2"
Length of crib skirt: 15 1/2" Add an extra two inches on each. This will be to turn over for the piping. You can purchase piping at the fabric store, or you can make your own.

How to make a crib skirt with inverted pleats and piping
The crib skirt has four inverted pleats.
For the crib sheet you will need:
White cotton cut 51"+1"= 52" seam x 28"+1" seam = 29"
This is sheet that will anchor the skirt.
For the skirt you will choose a fabric of your choice, I chose grey to coordinate with the theme of the room.
Cut skirt 63 1/2" + 1" seam = 64 1/2"x 40 1/2" + 1" = 41 1/2"
Length of crib skirt: 15 1/2" Add an extra two inches on each. This will be to turn over for the piping. You can purchase piping at the fabric store, or you can make your own.

 |
| Cut 2" strips for piping |
 |
fold piping in half to 1" |
1)
 |
| sew piping to edges on either side and at the hem, then fold over 2" and top stitch. |
 |
| Stitch piping to edge of fabric before folding. |
 | |
| 3) Fold over 2" on either side and top stitch. Turn up two inch hem and stitch piping the same as skirt sides as seen in above diagram |
 |
| 4) To make pleat fold fabric in half to determine center of pleat. fold over approx 3' on each side and pin. |
 | |
| 5) The back of pleat should look like this |
 |
| 6) Press pleat down. |
 |
| The finished pleat REPEAT STEPS 1 TO 6 ON ALL FOUR PIECES AND AT THE HEM. MAKING SURE THE PLEATS ARE PLACED IN THE CENTER |

Two pieces 51" long and two pieces 28" wide.(after the pleats are made) The length should be 15 1/2".
Attach the pieces to the crib sheet 51" x 28". See diagram. Tack each of the four corners together. and press.
 |
| The finished crib skirt |

Adjusting the reach of a Converse Sandals
I bought these converse thong canvas sandals without trying them on, it turned out the reach was too short between my toes and they hurt but I was determined to keep them.

I took them to the shoemaker and to my disappointment he said there was nothing he could do the fix the problem, and suggested I give them away and buy a new pair. I had this brilliant idea to make them fit which I will share with you.
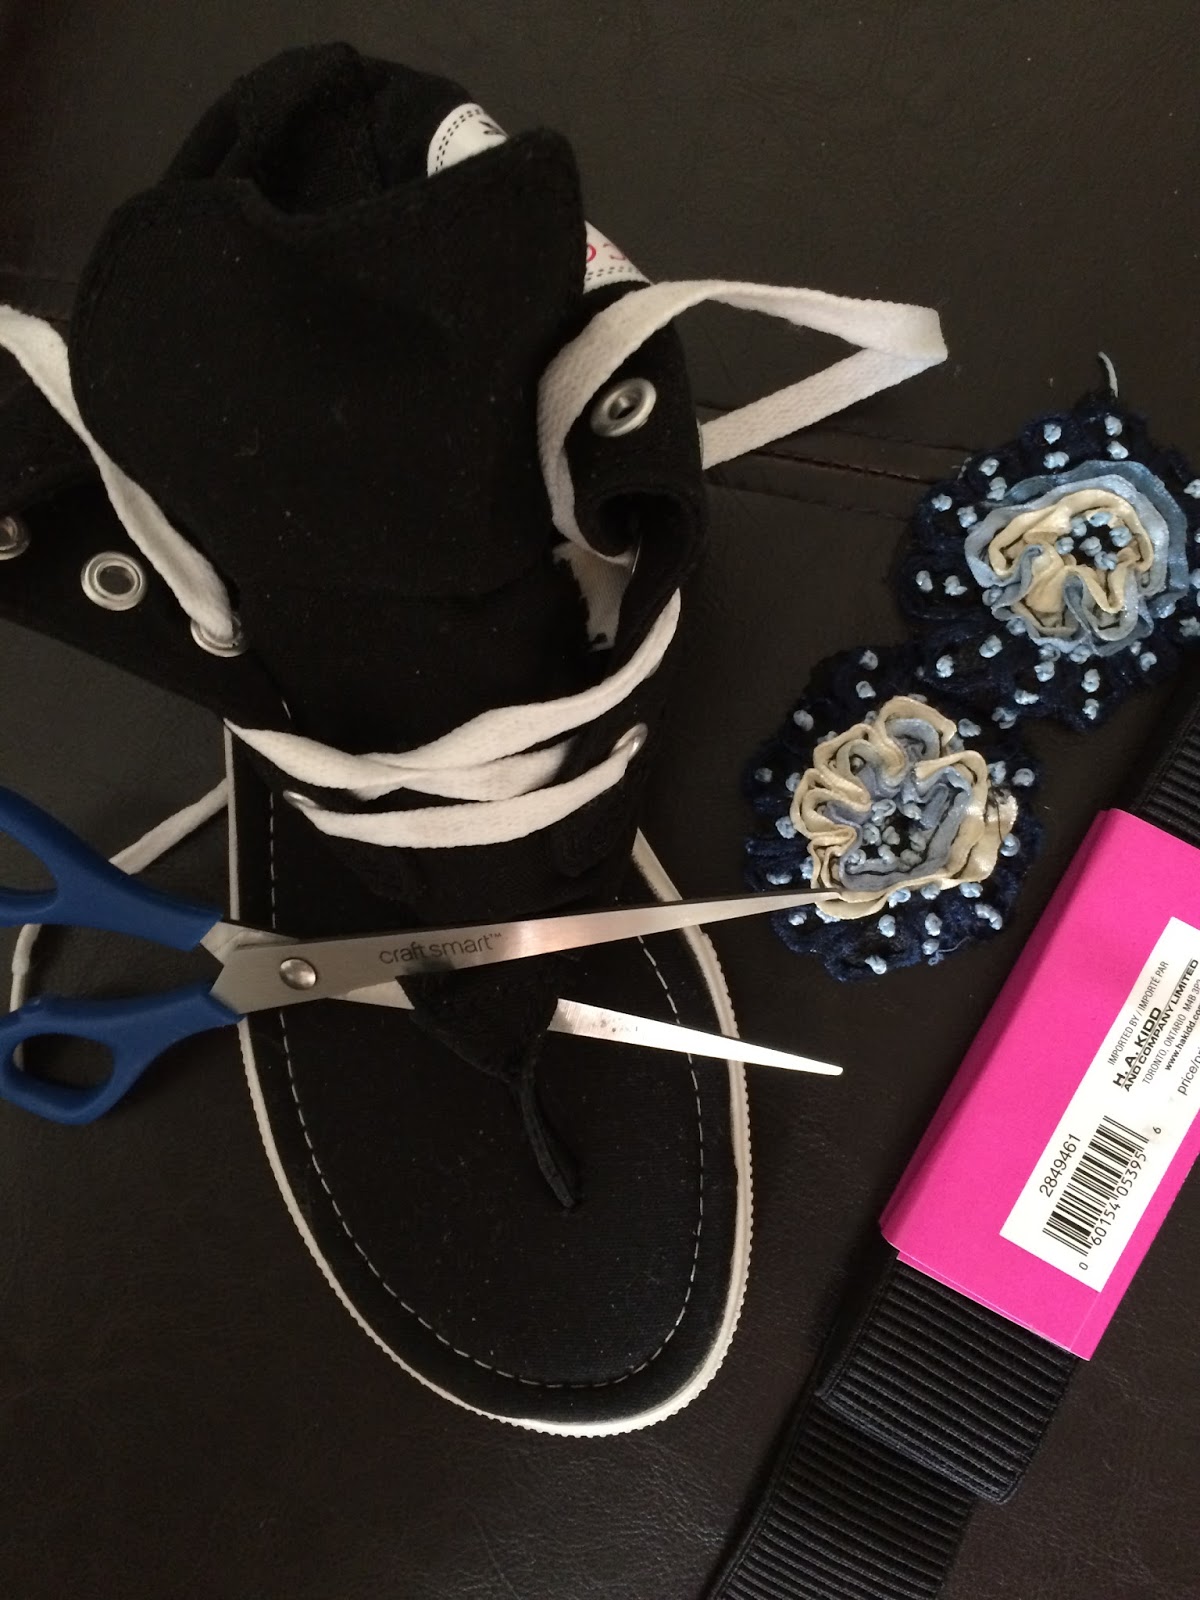
I went home and rummaged through my junk draw and found two appliques, crochet thread, and 1 1/2" wide elastic. Then I went for my scissors, and large canvas needle.
First I cut through the sandals above the thong as seen in the picture.

First I cut through the sandals above the thong as seen in the picture.

Then anchor the elastic to the canvas by sewing it securely to add length and give the necessary ease required


Moral of this story: Never, Never take NO for an answer.
Make this beautiful Christmas arrangement for the holiday.

All
you need is a tree branch painted in the colour of your choice. I
chose gold, place in a heavy plant pot to keep branch from tipping.
Foam and moss to anchor the flowers and branch in the pot. Arrange
flowers to your liking. You can use poinsettias or any flower purchased
in the craft isle, finally hang ornaments on the branches.
Very
inexpensive to make. I purchased all items at the dollar store, or if
you have left over ornaments from your Christmas tree decorations.
Hang pleated drapes without hooks

Hanging
pleated drapes can be made into one step by attaching tabs and using a
rod instead of tedious hooks.

You will need tape measure, ribbon approximately 2" wide, scissors, pins, needle and thread.


You
can measure the circumference of the rod to determine the length of the
tabs, however I placed the ribbon around the rod allowing about half
inch for ease so the rod can be pushed through without having to force
it through.
The
next step: cut the amount of tabs you need by using the first tab as a
guide. To determine how many tabs you will need count the number of
pleats on the drape. A tab will be placed in every other space between
pleats.


Pin or baste tab between pleats as shown in diagram, stitch the bottom then the top. (to make it easier you can stitch all the bottom of the tabs first then flip them over and stitch the top in place. (See diagrams below)


Run rod through tabs, and hang drapery.

Finished results:
Three Easy Steps to make a Facinating Facinator Hat. It's very simple.

You will need flower or ornament of choice, in this lesson we will use a flower with clip so it can be secured to your hair.
Needle, Thread, Scissors, Facinator.
 |
| Ornament with clip so it can be secured to your hair |
 | |||||||
| Run a base thread through edge of facinator |
 |
| Pull thread and leave hole in facinator |
2: Pull thread, leave hole in facinator enough for the clip to fit through.
 |
| Secure facinator to ornament making sure clip is not tangled in thread |
 | |
| Completed facinator hat |
 |
| Fabulous Wide Facinator hat worn on the side |
 |
| Smaller version of facinator hat by doubling net in half. |

You
can obtain a different effect by folding or cutting the net in half
before gathering, or by leaving one side a different width.
Summer Sandals

Transform a boring sandals into a fun and sassy sandals for the summer. You will need shoe glue, scissors, three cards of children hair bubbles, (you can also use loose buttons or beads). A large needle and crochet thread. Fabric for template (optional)
 |
| Template Optional |

Sew bubbles or buttons on template (optional) or directly on to sandals with large needle and crochet thread, or use shoe glue to secure buttons or bubbles on to sandals. (You can also be creative with flip flops)

Keep checking Quirico's Sewing & Craft for more easy to make fun projects.
Comments
Post a Comment